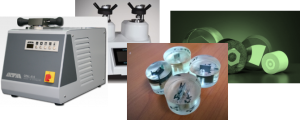
In this chapter, we briefly introduce you to the various approaches to preparing the samples suitable to be used for further analysis. Without these steps, you may not be able to find out exactly what went wrong inside your sample. It could be a crack, a weak joint, a contamination, or a structural deformation. The steps taken will be studied carefully by us before proceeding so as to provide the true-picture for you to make decision.
CUTTING
The initial step in preparing a sample for metallographic micro structural analysis is to locate the area of interest. Cutting (also known as sectioning) is the most common technique for getting close to this area of interest. Good cutting guarantees minimal micro structural damage. We should avoid damage like graphite flakes, nodules or grain pull-out to the sub-surfaces of the samples. The choice of cutting equipment, the medium used, the cutting speed will vary depending on the sample itself. From hand saw; bench saw to wire-saw, our experience staffs and equipment can section to the required area of interest in an efficient and safest way.MOUNTING
For some instances, after cutting the samples to desirable size it can already be observed and analysed. There are however for some cases that require the next step known as Mounting. The purpose of this Mounting is to handle small and/or odd shaped specimens for the subsequent steps. It is also to protect fragile materials, thin layers or coating during preparation as well as to provide good edge retention. With Mounting, the samples are transformed into uniform size so that it eases handling in holders for next preparation steps. Generally there are 2 Mounting methods available:
- Hot Mounting — normally for metallic samples. The sample is mounted under heat and pressure with a hot mounting press.
- Cold Mounting — suitable for samples that are heat sensitive. Cold mounting uses resins with curing agent and require mixing which is then poured into a mould cup, the allowed to set over time.
GRINDING
The objective of Grinding is to even out the rough surfaces caused by above Cutting. The quality of ground surfaces rely very much on the skills of the person performing the job. Although there are automatic grinding / polishing equipment that are available in the market but large amount of judgement is still base on experience. There are also other deciding factors such as the material of specimen, types of mounting agent, grinding medium, speed of grinder, force and contact between grinding surfaces etc.
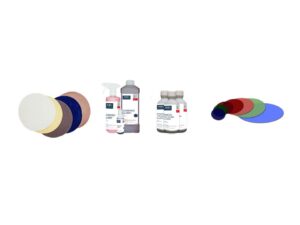
For Grinding operation, we can use Auto or Manual grinders. For grinding mediums, there are stones; wheels and abrasive papers. They come in many grits, from coarse to very fine.
POLISHING
It is common for some labs to combine Polishing with Grinding processes as one operation. They are, after-all, very similar in the nature of processing and the objective is the same. There are times however when the evaluating specimens do not require mirror finishing by Polishing process. Again, this operation is highly dependant on the skills of the lab-personnel.
In Polishing process, we use medium like
- Clothes (wool, nylon, polymer, silk, synthetic polyester,wire mesh)
- Slurry/Suspension (diamond, silica, aluminium oxide. usually come in water, oil base)
- Lapping films (diamond, silicon carbide, alumina)
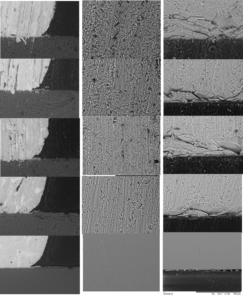
The sample preparation up to this stage, in general, should achieve the requirement for next phase of elemental analysis and failure investigation. Nevertheless, due to the nature of “mechanical” operations, you will still find the polished surfaces with very fine scratches and imperfection under high magnification imaging.
Hence, techniques such as Ion-Milling or Focus Ion Beam (FIB) can be deployed if required. The limitation, however, is the area size of the specimens. FIB is limited to work within 100um, Ion-milling caters only to approximately 5mm by re-positioning, and mechanical preparation has no size limitation.
CLEANSING
Finally, a note for cleansing throughout the preparation stage. The reason for it is obvious and very much depending on the specimen itself. We use water for general cleansing but switch to rely on solvent with drying oven if needed. Non-water base consumables like oil-based slurry, pH control Silica can also be used to prevent oxidation and avoid undesirable result.
COATING
Sputter Coating and Carbon Coating might be necessary at times for non-conductive or poor-conductive samples before SEM/TEM Analysis. It improves the imaging as well as reduces thermal damages to the test samples. It will, however, take longer preparation time and cost.


